Real-time events Broadcasting with Laravel 9 & Soketi
Broadcast and receive real-time events in Laravel 9 using Soketi, a very simple, fast, and resilient open-source WebSockets server. 📣
In this tutorial, we will build together a Laravel real-time event broadcasting app using Soketi.
Soketi is an open-source WebSockets server that implements the Pusher Protocol v7 which will make it so easy for us to use with laravel.
How we will approach this :
From The Backend Side, Broadcasting gives us the ability to send events that did happen in our application to our frontend clients on specifically named channels, these events can also contain data that we can provide to our front-end.
From The Frontend Side, we can subscribe to those channels and get the broadcasted events and data.
Soketi Role, here Soketi will play the role of a Middleman where our backend will push events to it so our front can receive them as soon as they happen.
We will go with this step by step :
- Prepare Laravel to broadcast events
- Soketi installation
- Create Events
- Create Routes
- Prepare the frontend side
- Views
1. Prepare Laravel to broadcast events
Laravel comes with server-side broadcasting support but we need to do some stuff to enable it so our client can receive these events.
Uncomment BroadcastServiceProvider in the array of providers in config/app.php
'providers' => [
      // ...
        /*
         * Application Service Providers...
         */
        App\Providers\AppServiceProvider::class,
        App\Providers\AuthServiceProvider::class,
        App\Providers\BroadcastServiceProvider::class, // Uncomment this line
        App\Providers\EventServiceProvider::class,
        App\Providers\RouteServiceProvider::class,
],
Update config/broadcasting.php
'connections' => [
      // ...
   'pusher' => [
      'driver' => 'pusher',
      'key' => env('PUSHER_APP_KEY', 'app-key'),
      'secret' => env('PUSHER_APP_SECRET', 'app-secret'),
      'app_id' => env('PUSHER_APP_ID', 'app-id'),
      'options' => [
         'host' => env('PUSHER_HOST', '127.0.0.1'),
         'port' => env('PUSHER_PORT', 6001),
         'scheme' => env('PUSHER_SCHEME', 'http'),
         'encrypted' => true,
         'useTLS' => env('PUSHER_SCHEME') === 'https',
      ],
 ],
],
Install the Pusher Channels PHP SDK
composer require pusher/pusher-php-serverUpdate .env file
BROADCAST_DRIVER=pusher

PUSHER_APP_KEY=app-key
PUSHER_APP_ID=app-id
PUSHER_APP_SECRET=app-secret
PUSHER_HOST=127.0.0.1
PUSHER_PORT=6001
PUSHER_SCHEME=http

MIX_PUSHER_APP_KEY="${PUSHER_APP_KEY}"
MIX_PUSHER_HOST="${PUSHER_HOST}"
MIX_PUSHER_PORT="${PUSHER_PORT}"
Authentication logic
<br>We did use Laravel Breeze fell free to check the documentation for this.
2. Soketi installation
We have several options to install Soketi :
- Cli (npm)
- Docker
- Helm Charts (k8s)
- Laravel Sail (Docker )
For me, I will use docker 🐋
docker run -p 6001:6001 -p 9601:9601 quay.io/soketi/soketi:0.17-16-alpineif you want to change the default secrets keys you can pass them as environment variables to the container likewise :
docker run -p 6001:6001 -p 9601:9601 -e DEFAULT_APP_ID=some-id -e DEFAULT_APP_KEY=some-key -e DEFAULT_APP_SECRET=some-secret quay.io/soketi/soketi:0.17-16-alpine🚨 Don't forget to update your env file as well.
you can use this docker-compose.yml also if you don't want to write that looooong command. Anyway, we will stick with defaults for this demo.
3. Create Events
Create a public event.
php artisan make:event PublicEventclass PublicEvent implements ShouldBroadcast
{
use Dispatchable, InteractsWithSockets, SerializesModels;
public string $message;
/**
* Create a new event instance.
*
* @return void
*/
public function __construct(string $message)
{
$this->message = $message;
}
/**
* Get the channels the event should broadcast on.
*
* @return \Illuminate\Broadcasting\Channel|array
*/
public function broadcastOn() : Channel
{
return new Channel('public');
}
}Create a private event.
php artisan make:event PrivateEvent
class PrivateEvent implements ShouldBroadcast
{
    use Dispatchable, InteractsWithSockets, SerializesModels;

    public string $message;
    /**
     * Create a new event instance.
     *
     * @return void
     */
    public function __construct(string $message)
    {
        $this->message = $message;
    }

    /**
     * Get the channels the event should broadcast on.
     *
     * @return \Illuminate\Broadcasting\Channel|array
     */
    public function broadcastOn() : Channel
    {
        return new PrivateChannel('private.' . auth()->user()->id);
    }
}
Create a presence event.
php artisan make:event PresenceEventclass PresenceEvent implements ShouldBroadcast
{
use Dispatchable, InteractsWithSockets, SerializesModels;
/**
* Create a new event instance.
*
* @return void
*/
public function __construct()
{
//
}
/**
* Get the channels the event should broadcast on.
*
* @return \Illuminate\Broadcasting\Channel|array
*/
public function broadcastOn() : Channel
{
return new PresenceChannel('presence.' . auth()->user()->group_id);
}
}4. Create Routes
Update routes/channels.php
Public channel
- From the name, the public channel allows any client to subscribe to it.
Broadcast::channel('public', function () {
    return true;
});
Private channel
- Only authenticated clients can join this channel.
Broadcast::channel('private.{id}', function ($user, $id) {
    return (int) $user->id === (int) $id;
});
Presence channel
- Presence channels are like private channels but they add extra awareness so we can tell if the client joins or leaves a channel.
To demonstrate this we need first to add a groups table to our database migrations.
php artisan make:migration create_groups_table- Update users migration
Schema::create('users', function (Blueprint $table) {
   $table->id();
   $table->string('name');
   $table->foreignId('group_id')->constrained('groups'); // add this line
   $table->string('email')->unique();
   $table->timestamp('email_verified_at')->nullable();
   $table->string('password');
   $table->rememberToken();
   $table->timestamps();
});
- You can make a seeder to seed data for groups and users tables check this link.
- We can run our migrations now!
php artisan migrate:fresh --seed🚨 Important: make sure that the groups migration runs before users migration.
Now add this code to channels.php.
Broadcast::channel('presence.{groupId}', function ($user,int $groupId) {
    if ($user->canJoinGroup($groupId)) {
        return ['id' => $user->id, 'name' => $user->name];
    }
});
Update User model
public function canJoinGroup(int $groupId): bool
{
   return $this->group_id == $groupId;
}
Update routes/web.php
Route::get('/color', function () {
    return view('color-picker');
});

Route::post('/fireEvent', function (Request $request) {

    PublicEvent::dispatch($request->color);
})->name('fire.public.event');

Route::get('/dashboard', function () {
    return view('dashboard');
})->middleware(['auth'])->name('dashboard');


Route::middleware('auth')->group(function () {
    Route::view('/dashboard', 'dashboard')->name('dashboard');

    Route::get(
        '/private/fireEvent',
        function () {
            // faking file upload
            sleep(3);
            PrivateEvent::dispatch('Profile picutre has been updated');
        }
        )->name('fire.private.event');


        Route::get('/dashboard', function () {
            $groups = Group::where('id', auth()->user()->group_id)->get();
            return view('dashboard', compact('groups'));
        }
        )->name('dashboard');

        Route::get('/dashboard/{group}', function (Request $request, Group $group) {

            abort_unless($request->user()->canJoinGroup($group->id), 401);
            return view('group', compact('group'));
        }
        )->name('group');

        Route::get('/presence/fireEvent/{message}', fn() => PresenceEvent::dispatch())->name('fire.presence.event');
});
5. Prepare the frontend side
Install laravel-echo, pusher-js and axios
npm install --save-dev laravel-echo pusher-js axiosUpdate bootstrap.js
import Echo from 'laravel-echo';

window.Pusher = require('pusher-js');

window.Echo = new Echo({
    broadcaster: 'pusher',
    key: process.env.MIX_PUSHER_APP_KEY,
    wsHost: process.env.MIX_PUSHER_HOST,
    wsPort: process.env.MIX_PUSHER_PORT,
    wssPort: process.env.MIX_PUSHER_PORT,
    forceTLS: false,
    encrypted: true,
    enableLogging: true,
    disableStats: true,
    enabledTransports: ['ws', 'wss'],
});
6. Views
We did use laravel blade in this demo but you can use Vuejs or React or any frontend framework.
To showcase the difference between the public, private, and presence channels we will use three different scenarios.
Public channel :
- Let's assume that you want to update the laravel logo color and you want your users to see that realtime for any reason maybe you want to hypnotize them to buy your services 🪄😵💫.
We need to update welcome.blade.php
First, add the id to the laravel SVG logo
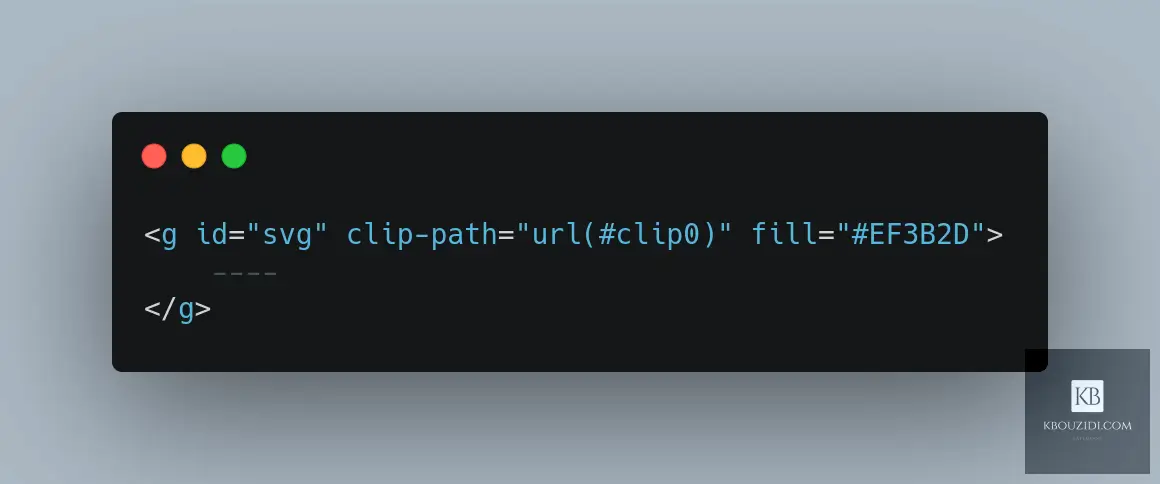
add some javascript, here we are listening on a public channel for an event with the name 'PublicEvent' and we will update the color of the logo every time the event is fired.
Echo.channel('public')
            .listen('PublicEvent', (e) => {
                document.getElementById('svg').setAttribute('fill', e.color);

});
now create a color-picker.blade.php
We will make an input of type color likewise :
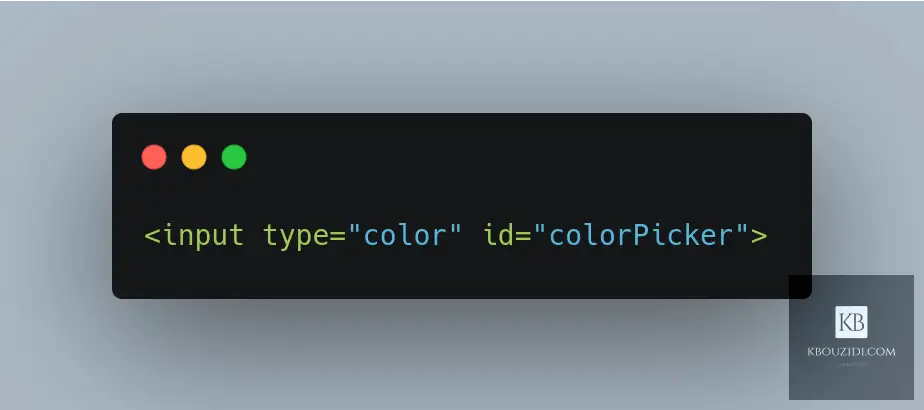
In the javascript part, we will make a request for every value change to fire the event.
let colorPicker = document.getElementById('colorPicker');
    colorPicker.addEventListener('input', async function() {

        axios.post("{ {route('fire.public.event')} }", {
            color: colorPicker.value
        }, {
            headers: {
                'Content-Type': 'application/json;charset=utf-8',
                'X-CSRF-TOKEN': "{ {csrf_token()} }"
            }
        })

});
Private channel :
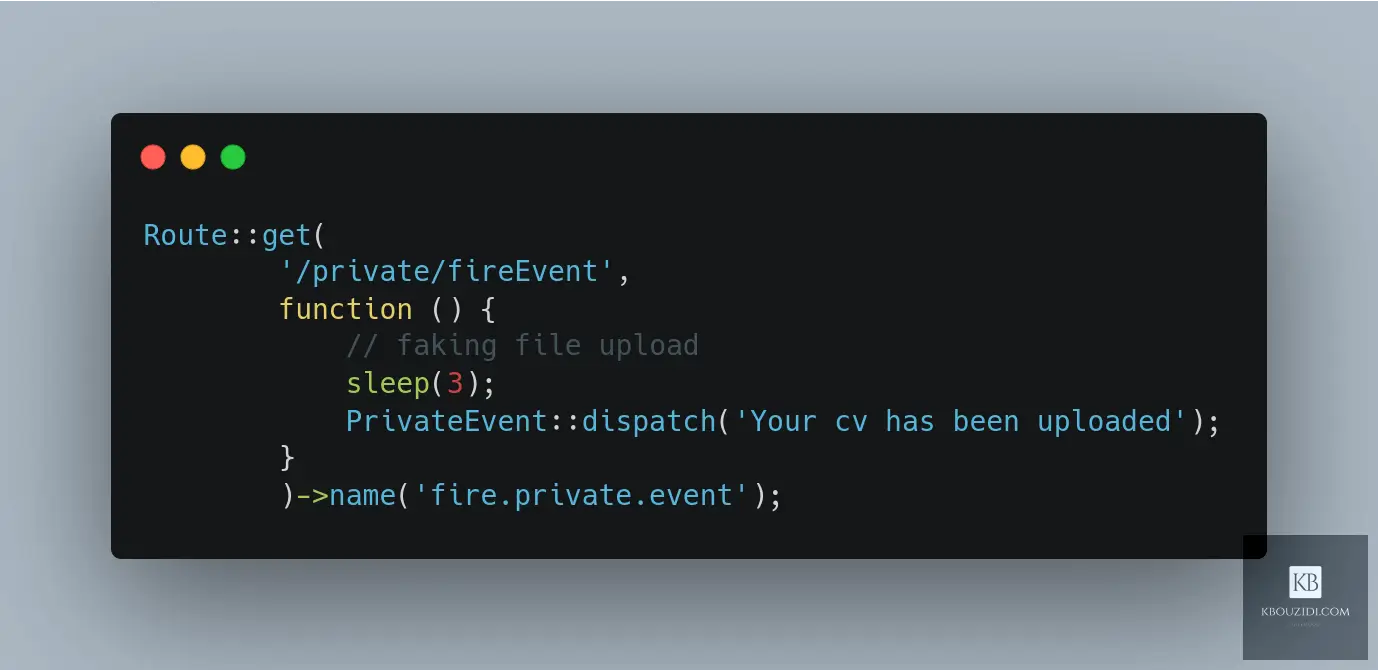
- Let's say your users need to upload their CVs and we need to notify them when the upload is done.
Well, we will fake the file upload we only want to see how private channels work.
This is the route for the cv upload where we will fire the event with a message as an argument.
Next, we will add a button with a click listener, here we are using AlpineJs but you can use what you want. just keep in mind to import Alpinejs CDN in the layout.
Check Alpinejs documentation if you need to.
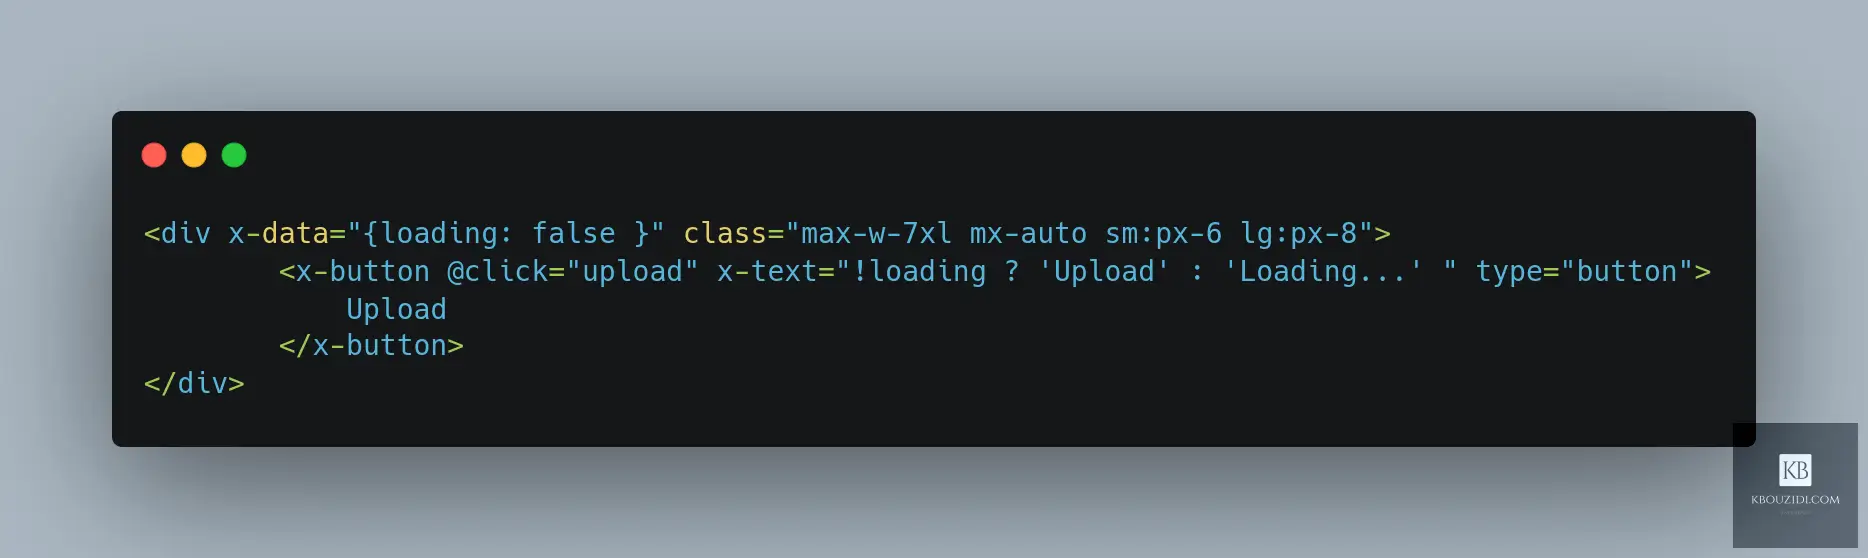
The javascript part is very simple, the upload function will make a request to an endpoint which will fire an event with the name "private.{userId}".
In the second part, we will just listen to this event so we can notify the user that the cv has been uploaded and he can easily find a job now 🥳🎉
async function upload() {

  this.loading = true
  await axios.get("{ {route('fire.private.event')} }", {
    headers: {
      'Content-Type': 'application/json;charset=utf-8',
      'X-CSRF-TOKEN': "{ {csrf_token()} }"
    }
  }).then(res => this.loading = false)
}
// listening to the event
Echo.private('private.{ { auth()->user()->id } }')
  .listen('PrivateEvent', (e) =>
    document.getElementById('message').innerText = e.message
  );
Presence channel :
- Let's assume that our application has some groups in it and we need to allow users to see if someone did join or left a group.
In the dashboard.blade.php we did just add this code to allow our user to join the group.
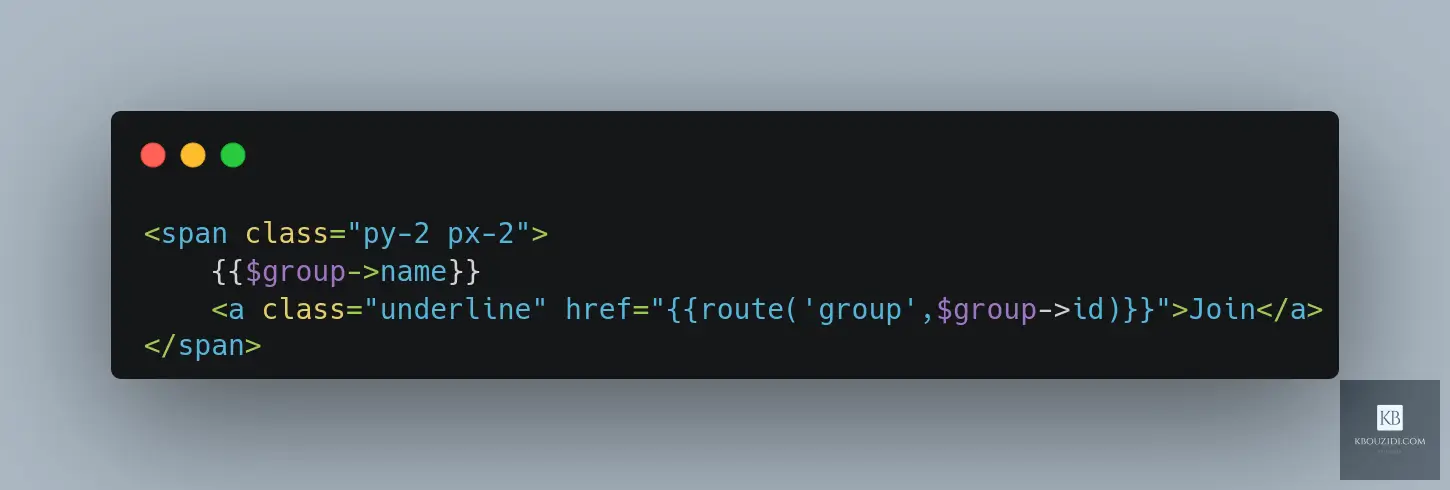
In web.php we did send the user-related group to dashboard.blade.php.
Route::get('/dashboard', function () {
$group = Group::where('id', auth()->user()->group_id)->first();
return view('dashboard', compact('group'));
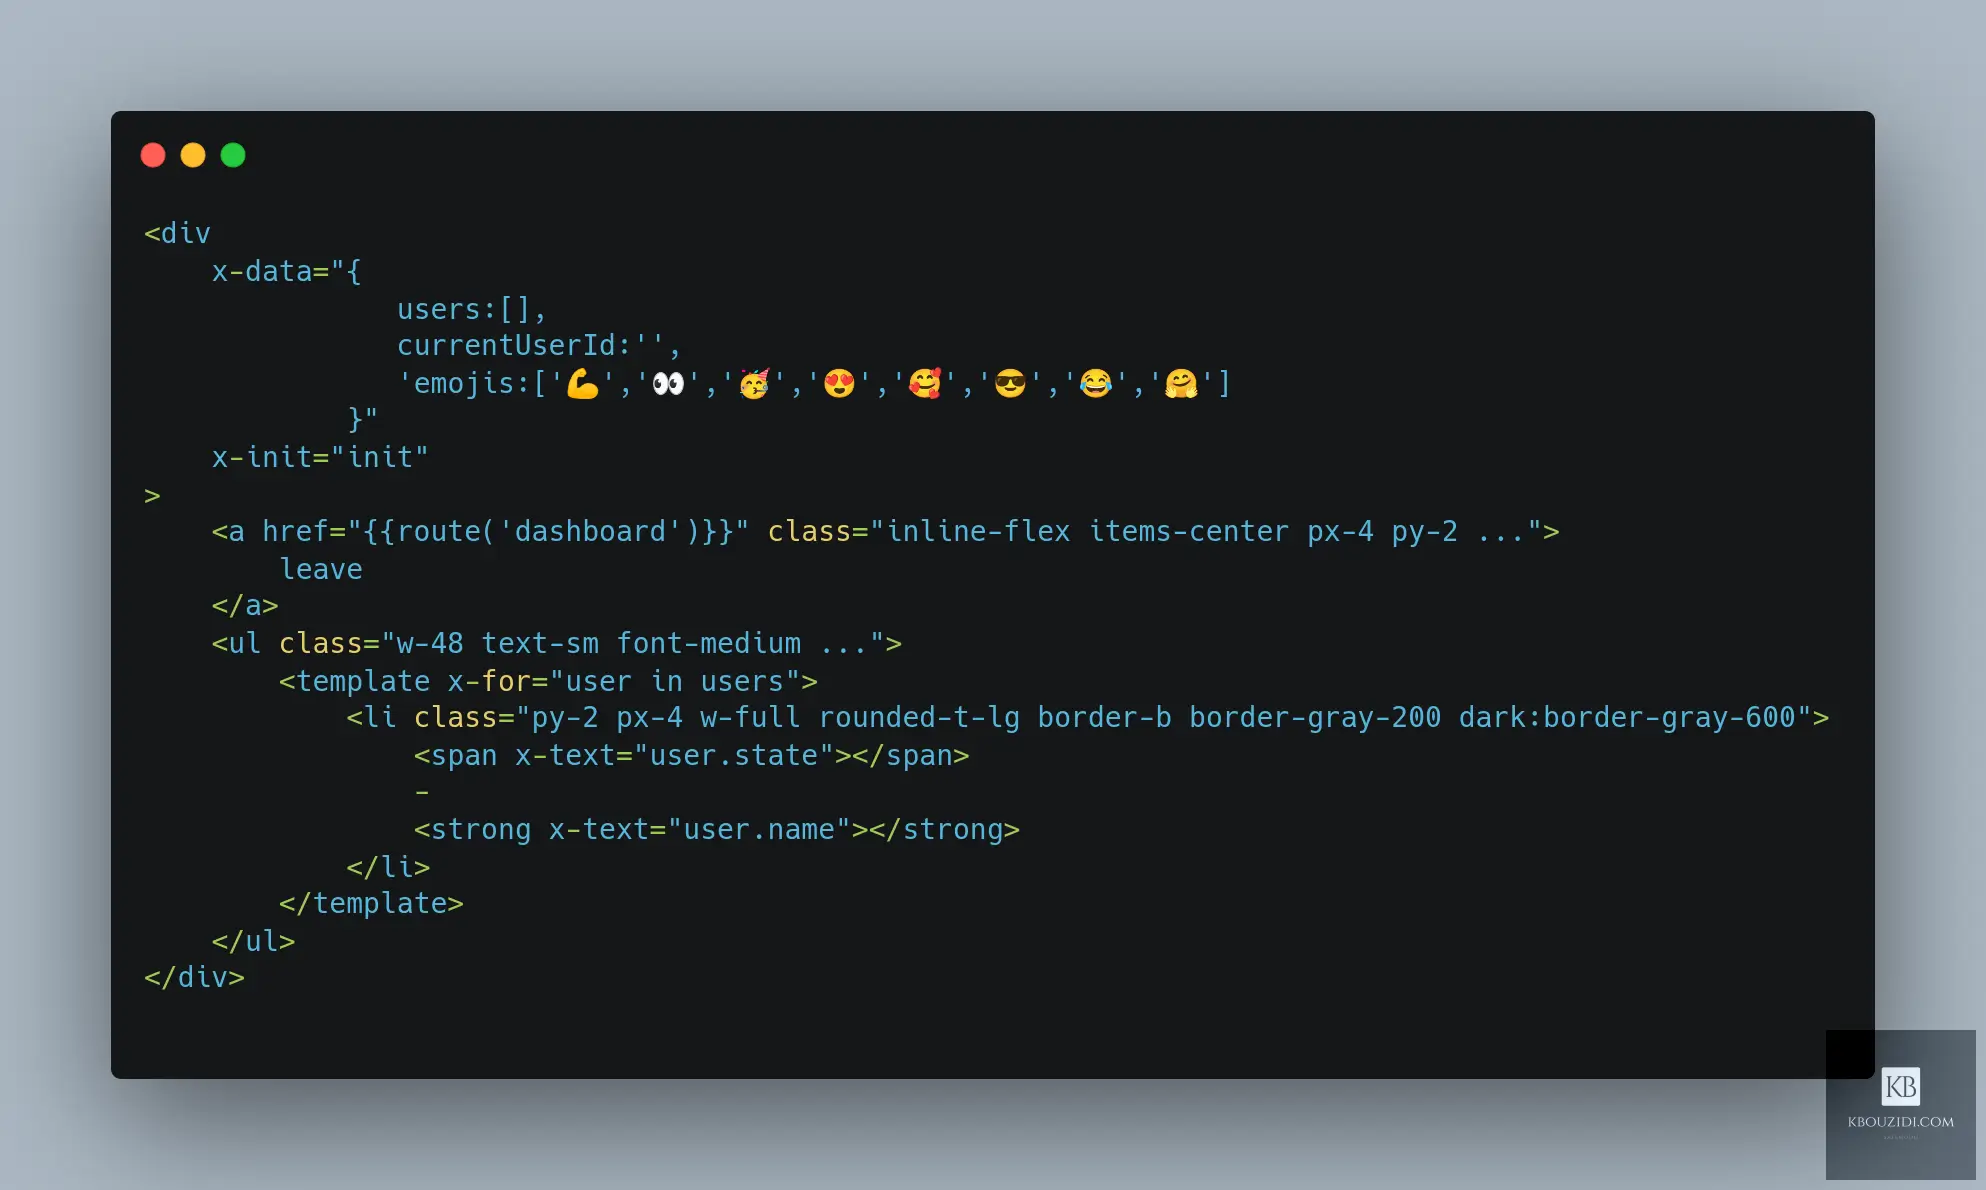
}In group.blade.php we added some javascript to check if any user did join or left the group.
function init() {

  let channel = Echo.join(`presence.{{$group->id}}`)

  channel
    .here((users) => {
      this.users = users
    })
    .joining((user) => {
      this.users.push(user)
    })
    .leaving((user) => {
      this.users.splice(this.users.indexOf(user), 1)
    })

}
now we will display new joining users as they come.
In the final part, we will explain what is client events and how we can use them.
Client events allow us to broadcast an event to other connected clients without hitting our backend.
First, let's see how it will look 🤔
We need to enable client events in our WebSockets server in order to broadcast and listen to this type of event.
To do this in soketi make sure to pass an environment variable to your container likewise.
docker run -p 6001:6001 -p 9601:9601 -e DEFAULT_APP_ENABLE_CLIENT_MESSAGES=true quay.io/soketi/soketi:0.17-16-alpinelet's give our users a way to send this type of event to share their state with other connected users.
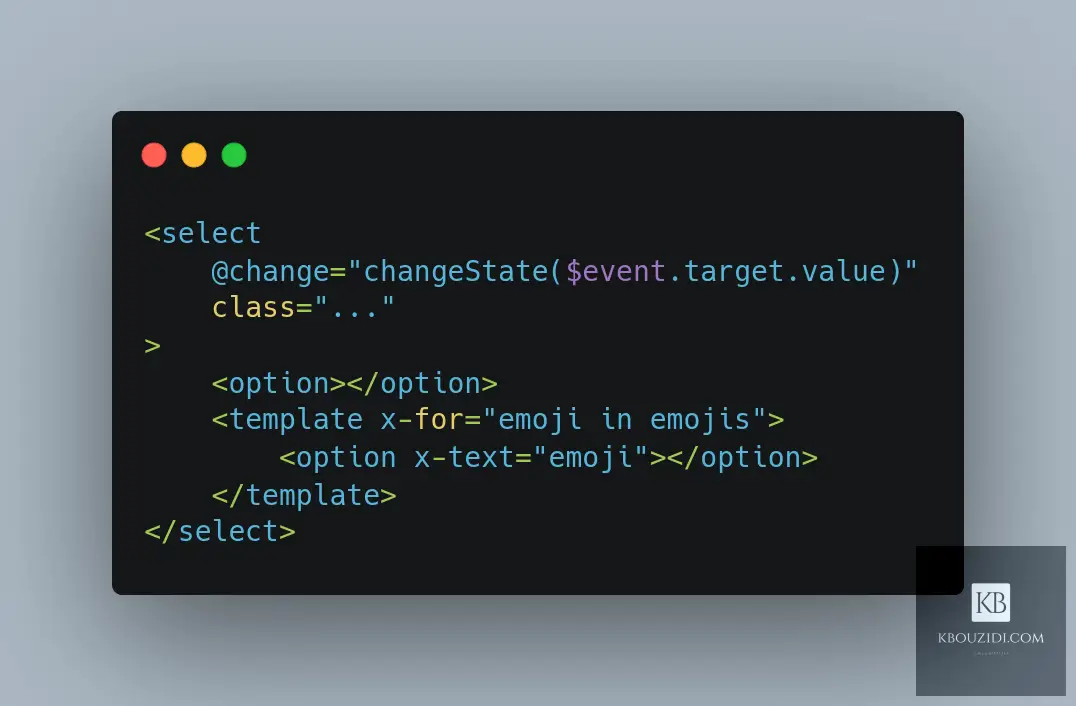
We will put this code inside the init function so we can send a client event which we did call 'changeState'.
this.currentUserId = ""
this.changeState = (state) => {

  channel
    .whisper('changeState', {
      state,
      userId: this.currentUserId
    });


}
if you did notice in the previous code we did add this span inside the loop which will display the user state, it's set to undefined this is why we can't see anything.
<span x-text="user.state"></span>
We need to add this javascript code so we can update the user state.
channel
	.listenForWhisper('changeState', (e) => {

      this.users.map(user => {
		 // find the user who did fire the event
        if (user.id == e.userId) {
		// update the state
          user.state = e.state
        }
      })
Finally, my mission is done I hope this was helpful feel free to contact me if something was not clear or if you have any feedback, you can find me on LinkedIn or Twitter.
You can find the complete code in the following Github repository.